Plastic pipes and fittings are revolutionary for the plumbing and construction industry. In fact, to the extent that they are now a standard for a range of applications. So, it’s essential you know how to use them, which is where our handy guide comes in.
We’ve written this to help you discover a host of handy tips to help you with your plumbing projects. Plumbers in the trade and DIYers use this versatile form of piping daily to create fully functioning bathrooms and much more. If you take a look behind most toilets, sinks and even under shower trays, you will most likely find some form of plastic pipe that helps to form operational amenities. Read on to learn more!
Table of contents
Preparing your plastic pipes
There are a few things to consider when preparing plastic pipes for plumbing systems. Here you can learn what they are and why they matter.
Prepare your plastic pipes and fittings with plastic pipe cement
When installing pipes and fittings, it is essential that they are watertight and will remain connected. Additionally, ensure that the plastic cement is suitable for the pipe you are using. Incompatible cement can cause damage to the pipe.
Why?
Without using plastic pipe cement, PVC, CPVC and even ABS plastic pipes and fittings have an increased risk of separating. Sometimes this results in water being able to pass outside the joining areas as liquids run through. The cement safeguards the joining sections, making them secure and reducing the risk of issues appearing. As a result, you have a leak-free solution for your new plastic piping system.
How to apply plastic pipe cement
What you need:
- Suitable size dauber (half the diameter of the PVC pipe you need to glue)
- Primer
- Pipe cement
- Cloth or cleaning towel
The method of applying pipe cement is more in-depth than you think, but it is a short one. Firstly, ensure you clean up the pipe as necessary to make it smooth for the fitting. Test the fittings before permanently joining them together. Mark where the fitting and pipe align to determine how much primer and cement you will need to apply.
Use your primer to prepare/clean the pieces. Firstly, on the inner side of the fitting, wipe it around a few times for better coverage. Then do the same on the outer side of the pipe. Leave this to dry (10 seconds recommended).
Once the pipe is prepared, use your cement (or glue) and wipe the end on the outside of the pipe first in the same way you did with the primer. Then do the same on the inside of the fitting. You can now push the pieces of pipework together as needed, twisting them slightly as you put them together for a more secure fit. Hold these parts together for a suitable amount of time (minimum 10 seconds for smaller pipes and 30 for larger) to ensure the cement can set. If they’re still slipping apart when you release them, continue to hold them together until secure.
You can now wipe away any leftover cement sitting on the pipe with a cleaning cloth or similar, if desired, to improve the appearance and not affect the PVC pipe exposed from the fitting.

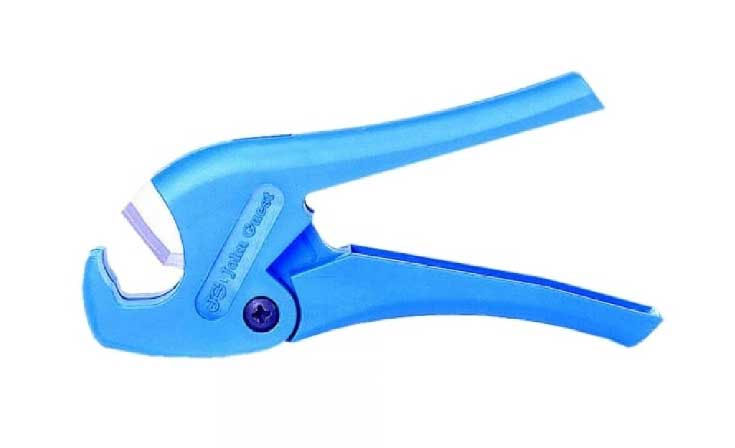
Use a tube cutter to easily cut those pipes down to size
If a pipe is too lengthy, trim it to your desired measurement using a pipe tube cutter.
Why?
If you want to ensure you don’t have wonky or rough cuts on the ends of your pipe, pipe cutters can provide precise, clean finishes. Just slot the pipe into the tool and squeeze the handles together. Now, with a clean cut on your new small pipe, the product should be ready to deburr and install in your system.
An additional note for cutting plastic pipes is that you can use a type of metal saw (such as a reciprocating saw) when cutting a larger pipe rather than a pipe cutter. Pipe cutters put a lot of pressure on the pipe when being cut, which can cause cracks to form. In some cases, the pressure can also cause an explosive reaction. This would result in needing additional new pipes to replace those that had just been damaged.
Whichever method you choose, wear protective glasses to avoid any material snapping off the pipe as you cut it to reduce the risk of injury.
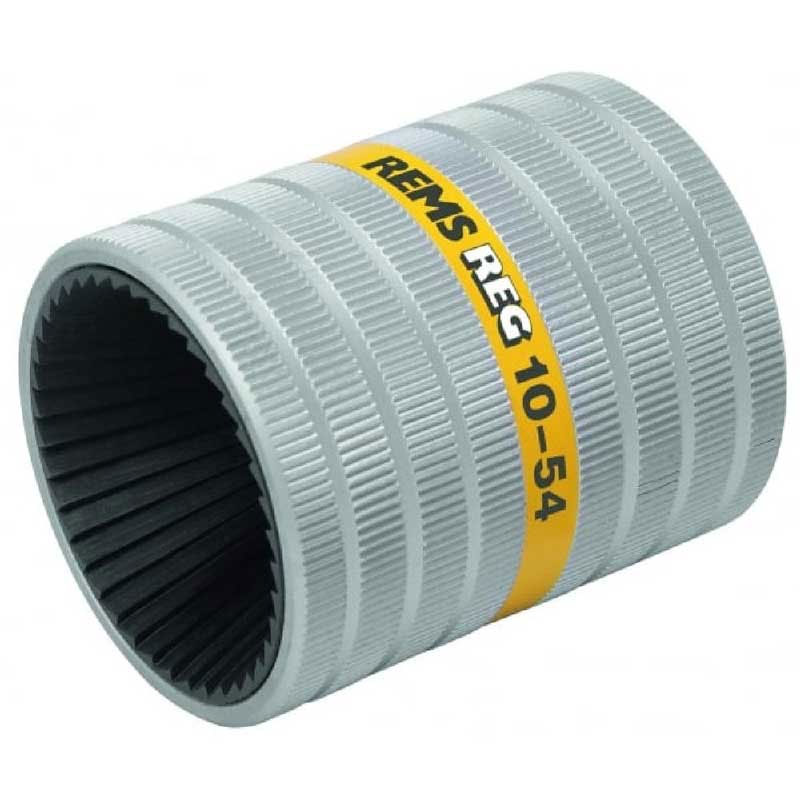
Deburr your pipes
Sometimes pipes can be manufactured with rough edges or interior and exterior flakes from their original cut. So, you will need a deburring device to smooth them.
Why?
Without smoothing and fining the edges of the pipes, you risk having little pockets or spaces between the cement after it dries. This means there is a higher risk of leaks and/or poor pressure as water runs through the system. That is why you should use a file and/or utility knife to smooth the ends of the pipe before attaching it to the system.
Taking care of your pipes
Do not drop the plastic pipes!
PVC and CPVC must be set down or carried carefully at all project stages.
Why?
Plastic pipes are remarkable for their purpose, but still prone to certain damage. Specifically, these materials (not including ABS) are prone to a type of damage called ‘micro-cracking.’ These cracks are small and might not be noticeable the first time around. Especially when they are at risk of expanding and deteriorating over time. If you spot any issues like this or you are in doubt, have them checked and dealt with as soon as possible.
Be careful where you rest the pipes
It has already been said that pipes can change size when exposed to certain temperatures. So, keeping them stored in a suitable location with a stable temperature can help maintain good condition.
Why?
In frigid temperatures, plastic can become brittle, increasing the chances of cracks and damage to the pipes. Even before the pipes are installed. In overly hot temperatures, the plastic is at risk of being heated to the point that it becomes bendy and misshapen. Although rare, if this does happen, it can cause fitting issues and damage to the pipe, in some cases.
Fitting your pipes together
Do not let go of the pipe and fitting when putting together
Pipes and fittings must be held together for an extended time (a minimum of 10 seconds) after the cement has been applied.
Why?
The cement and tapered shape of the fitting can cause the pipe and fitting to slide away from one another. So, when you push the fittings together, it’s essential to hold them firmly together until the cement has settled enough to ensure a secure and watertight fitting. Bigger pipes typically require a longer holding time of roughly 30 seconds.
Work at a steady and fast pace
Speeding up work on a system is important for you and the system.
Why?
If you wait too long after covering the pipe and fitting ends with cement, you risk the cement drying up fast. So, you end up with a covered pipe or fitting that will not slot in place. For the DIYer or newbie to plumbing projects, speed up this process by testing the placement of the pipes and fittings first and using a marking tool to note how the pieces should fit together. Once you have ensured the pipes and fittings match, you can then add the cement and fix it as needed.
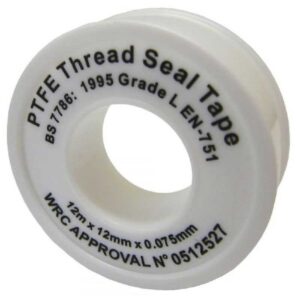
Avoid thick use of threaded tape
Threaded tape is useful for many metal-based systems, but it can affect plastic pipe systems and fittings around the joints for different reasons.
Why?
Threaded tape wrapped around the joint too thickly can risk cracks forming when the components fit together. This is because the pressure can be too high for the plastic to deal with. Instead, use a specific plastic-friendly pipe dope to connect the fittings and pipes to avoid this and maintain a secure, watertight fitting.
Hang your pipes correctly to avoid premature repairs
Over time, the size of the plastic and the length of the pipes can change due to alternating temperatures. This means you might have to opt for hanging the pipes in place. Now, you can use hooks to hang plastic pipes, but pipe straps can also be more beneficial in certain cases.
Why?
If you secure hanging plastic pipes with hooks, there’s a possibility that the pipe will fall slightly off the hook when it lengthens during temperature changes. So, using pipe straps made from plastic is another option, as the pipes can expand freely without the risk of falling. Ensure that when you hang them, you do not tighten the straps around them and instead leave enough space for the expanding pipes.
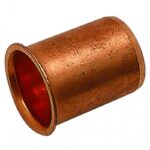
Use compression couplings to fit copper and plastic pipes together with ease
Sometimes you may need plastic and copper pipes in a system. This can be done with a simple push-fit coupling to join the sections without worrying about complicated methods.
Why?
Compression fittings are easy to use and simple to apply. With a compression fitting, you can fit it directly to the end of the first pipe and tighten it to that pipe. Then, you place a pipe insert into the end of the plastic pipe that will be installed into the compression fitting. Follow the same procedure when fitting to the plastic pipe.
An insert is a fantastic way to reduce the risk of the pipe being misshapen when tightening the fitting to the plastic. It also reduces the risk of it being misshapen during use in future.
An alternative to this is push-fit fittings. Like a compression fitting, you can easily fit the pipes together through this fitting, without needing additional tools. To do this, you will need to do separate actions on the copper pipe and plastic pipe. For the plastic pipe, fit a pipe insert into the plastic pipe end going into the fitting. Then take the copper pipe and deburr the edge of the copper pipe end going into the fitting. This preparation helps to reduce the chances of the ring inside the push-fit fitting getting damaged over time.
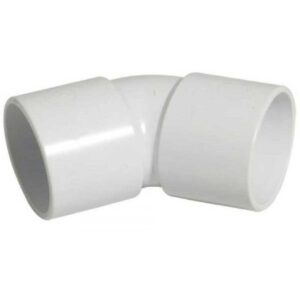
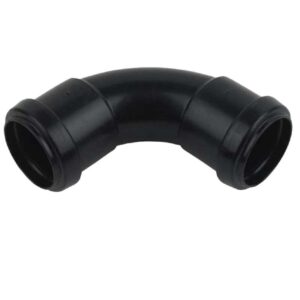
Plastic pipe elbow design matters
If you have a system that uses pipes below three inches in length, choosing the correct elbows is essential
Why?
Elbow fittings in pipe systems and the type used will depend on certain factors, such as the flow of the water or the amount of air passing through the system. For example, if the water slows down at a corner in the system, choose a longer bend. If the water speeds up at a certain corner, choose a shorter bend.
For systems that carry air only, use a vent elbow, as these are designed for this purpose. They have an exaggerated bend for easy identification. It is also worth noting that vent elbows are not designed for use with water.
Avoid the use of toilet flanges with collars made of metal
Ensure you do not apply too much pressure to the toilet flange (aka closet flange).
Why?
Plastic can crack under excessive pressure. So, if you put in a metal collage with bolts through the slots that hold the toilet to the floor, the cracks can expand. So, you not only have a poorly installed toilet system but a high risk of early So, make sure that you can secure the toilet to the floor with notches parallel to the wall behind the toilet.
Do not connect plastic pipe close to a boiler
When in doubt, confirm that your plastic pipework is no closer than one metre to the boiler.
Why?
This standard has existed for decades and is the go-to for many traders and DIYers. A prominent reason for this is that plastic cannot handle the operating temperature of the boiler. So, a way to deal with this is to have at least one metre (1000mm) of copper pipework connected to the boiler, followed by plastic connected to that copper pipe.
Need information about how to cut pipe insulation after installing a new pipe system? Check out our guide to find out more. You can also contact our friendly customer service team if you need assistance with enquiries.

Was this guide useful?
Mentioned in this project guide: