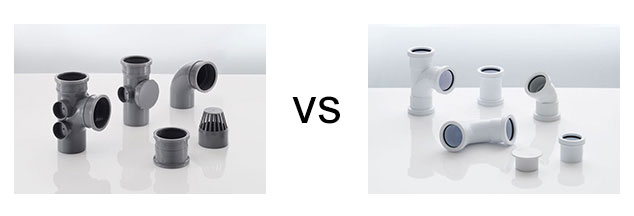
Installing soil pipes into a drainage system is a must to ensure soiled water is efficiently and safely transported from bathrooms towards said system. They do vary from waste pipes, so before you go ahead and install a soil pipe, learn the difference between soil pipes and waste pipes via our guide, then head back here for the next part.
That said, if you already know the difference, here is your step-by-step guide to installing a soil pipe!
Table of contents
- How to install a soil pipe
- Leaking soil pipe joints
- How to connect a toilet to a soil pipe
- How to connect soil pipe to a sewer
- How to unblock a soil pipe
- How to disguise an outside soil pipe
How to install a soil pipe
Installing a soil pipe has many steps that contribute to the system’s success once it’s complete. So, make sure not to skip over any as you go. With that in mind, let’s look at what you need:
- Digging tool (Shovel, fork, spade, etc.)
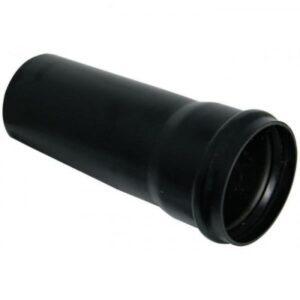
- Pipe fittings (as needed – i.e., pipe lengths, bends, branches, etc.)
- PPE (Gloves, boots, etc.)
- Tape measure
- Pipe-cutting tool (Hand saw, hacksaw, etc.)
- Solvent (If you’re using push-fit pipe fittings)
These are common tools used for this job. Check the manufacturer’s instructions to see if you need any exact tools to complete the job.
You may also need to brush up on your pipe size terminology to ensure you have the right pipe length, diameter, etc. You can also check out our fittings and flanges glossary to ensure you have the basic information at hand or remind you of key parts for future projects.
You can also speak to our friendly team for advice by contacting our helpline or discussing your requirements with a professional.
Once you’re all set, let’s move on to the installation process.
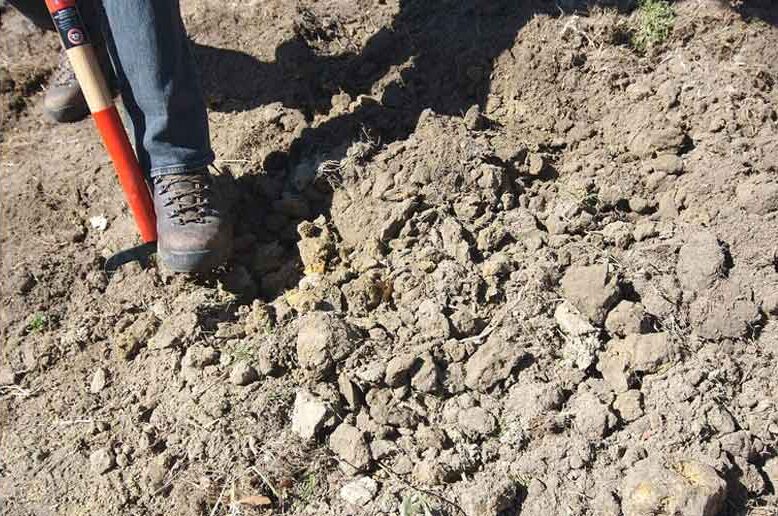
Step one: Dig the hole
Your first task is to create a hole through the bathroom wall. This will enable the internal pipe fittings to exit the building and connect to the soil pipes, which are commonly fitted to the exterior of a building.
Step two: Measure the distance
You’ll need to know the distance between the hole in the bathroom wall and the stop within the drain. Once you’ve found this, cut a piece of soil pipe to the desired length and connect it to the branch.
Step three: Fit the pipes accordingly
Simply push the pipe into the underground drain until it hits the stop. Then insert the pipe length into the branch, ensuring the second pipe is lined up with the hole.
Is the pipe slightly above the hole in the wall because of the angle of the branch? Measure the excess length and cut it off the first soil pipe. Now, remove the second length of pipe from the branch.
Step four: More measuring
Measure the distance from the outside of the hole to inside the bathroom this time. A typical distance is around 300mm in a cavity wall, so use this and add an extra 300mm to this measurement. This will allow you to connect the WC waste connector. Now, cut a piece of soil pipe of this length.
Step five: Time to fit a bend
To the cut soil pipe, connect a bend and push the pipe through into the bathroom from the building’s exterior. After pushing the pipe in, rotate the pipe so the bend faces towards the soil pipe running down the building’s exterior.
Step six: Cut the soil pipe
Measure the distance between the stop within the bend and the stop within the branch. Then your next task is to cut a piece of soil pipe to fit this.
Step seven: Connecting all the parts
You’ve almost completed the installation. For this step, remove the bend from the pipe running through the wall, then connect it to the piece of pipe you cut just now. Push this pipe into the branch until it reaches the stop. Then push the bend back onto the pipe going through the wall.
Step eight: You can now finish off the job
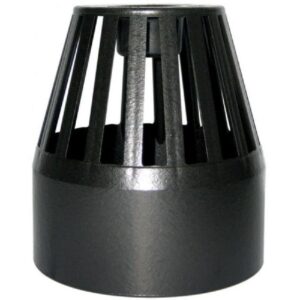
Last, but not least, add an extra length of pipe to the top of the branch and fit a cowl on top of that. This will enable foul air emission into the external environment without causing a distraction from the ground or building.
There you have it! A completed soil pipe installation.
How do you deal with leaking soil pipe joints?
A leaking soil pipe joint is a nightmare and leads to many issues if not dealt with quickly. Luckily, several methods exist for working out how to fix a leaking soil pipe joint. However, the cause of the leak and where the leak is within the system will affect which method you use.
So, let’s start with plastic soil pipes. These are typically made from PVC. If the leak is small, silicone sealant could be all you need.
Now, if the leak is excessive, this could be more than a damaged pipe fitting. One of these problems, a common one, is pressure build-up caused by a blockage further down the pipe system. In this case, the blockage must be cleared as soon as possible. If you don’t have the skills to do so, contact a professional who can deal with the issue accordingly.

Can you connect wastewater to a soil pipe?
Short answer – yes, you can! Connecting wastewater to a soil pipe fitting is possible. Various waste pipe connectors and waste pipe fittings can be used to connect waste pipes to soil pipes. A straightforward way to do so is by using the strap-on boss.
Read on to find out more about how you can make these connections.
How to connect a toilet to a soil pipe
Toilet pan connectors join the toilet to the soil pipe. You must measure the diameter of the soil pipe before buying a new toilet pan connector to ensure you have the right size.
With that said and done, here’s the connection method.
Step one: Cover and seal the toilet waste pipe
First, cover the toilet waste pipe with a cloth or a plastic bag and seal it. This will prevent malodorous gases from escaping the sewer.
Step two: Attach the pan connector to the soil pipe
Apply silicone lubricant along the bottom end of the pan connector and fit it securely into the soil pipe. Lubricant is not always necessary, but it will make things a lot easier.
Step three: Reposition the toilet in its original location
Once the toilet connector is pushed into place, you can return your toilet to its location. Then continue to screw the toilet pan and cistern down. The type of toilet you have will affect this part of the process and cause variations if it is not originally fitted as described.
How to connect a soil pipe to a sewer
An underground is the pipe that takes soiled water from your soil pipe to the sewer system. Connections to it can be time-consuming, so you must have strong DIY and plumbing skills. If not, leave it to the professionals.
For general guidance, carefully expose the underground drain using a shovel to avoid damaging the system.
From there, measure and cut the drain. Then fit a bend and add a piece of pipe, ensuring it’s long enough to reach slightly above the concrete level. This point is where you should be able to connect your soil pipe.
How to unblock a soil pipe
Blocked soil pipes can be prevented initially by not throwing household items down the toilet.
Common culprits are:
- Cleaning wipes
- Baby wipes
- Sanitary items
- Nappies
- Cotton buds
- Syringes
- Razors
Despite our diligence, we still find ourselves dealing with soil pipe blockages over time. Worry not, as there is a way to deal with this.
First off, if your soil pipe is made of cast iron, call in a professional engineer. If not, you can typically fix this issue yourself with minimal fuss. Just grab yourself a drain auger (also known as an electric eel or snake tool).
All set? Here’s your step-by-step for unblocking a soil pipe.
Step one: Find the cleaning eye
This is your access opening to the interior of the plastic soil pipe. When found, unscrew it and insert the drain auger.
Step two: Find the blockage
Pass the drain auger through the pipe to find the blockage. Once found, you can crank the handle of the drain auger to release a coiled wire.
Step three: Proceed with unblocking
Start to push and pull the drain auger several times until water begins to flow freely. When finished, remove the auger, disinfect the eye and screw the eye back into place.
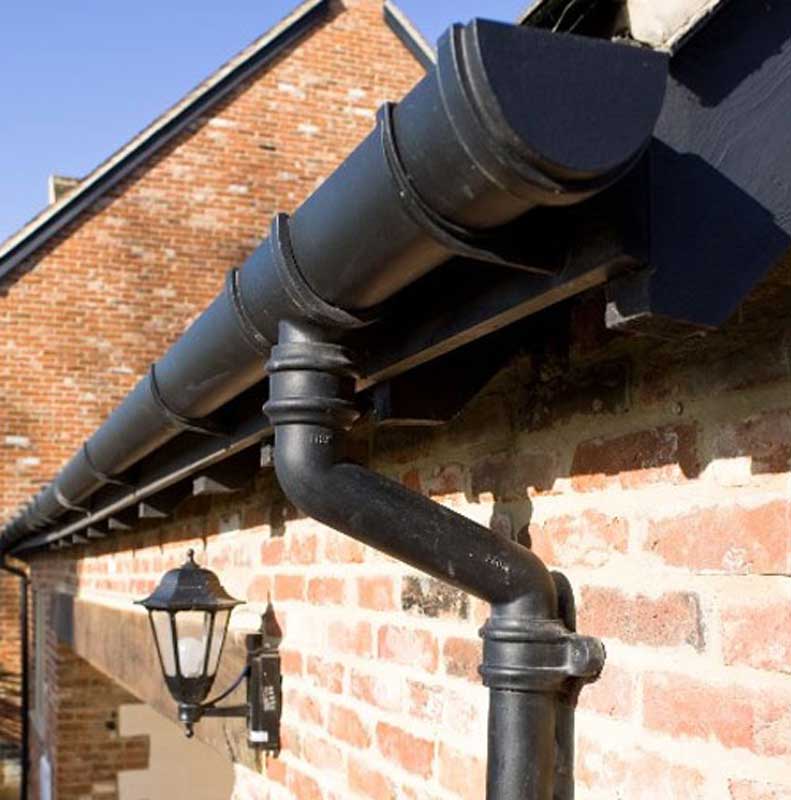
How to disguise an outside soil pipe
This is way more pleasant for DIY than connecting soil pipes to underground drains. You also get to use your imagination a bit more with this process.
Here are some simple tips for hiding a soil pipe. You can also use these on other external pipes if needed.
Paint the pipes
A great way to help your pipes blend in, provided you use a colour that matches your external walls.
Fit pipe covers
Many covers can complement your landscape design, making the connections feel more seamless than abrupt if the pipe is through a wall or the ground.
Use plants
Evergreen climbers can be great for horizontal or low vertical pipes. If the vertical pipe is higher, ivy is a great choice.
Industrialise your pipes
Add a contemporary, urban finish to make a subtle statement piece.
So, what have we learnt from all of this? Well, pipes can be confusing. What they do is not always as clear as we’d like. However, a basic understanding of the main differences between soil pipes and waste pipes can do wonders. Having this information helps you support them properly, avoid blockages and minimise other issues associated with the different types of systems.
Now you know what you need for your fitting, head over to our pipes and tubes buying guide to ensure you have the right soil pipe for the task ahead. We also have many other helpful pieces of advice dedicated to various plumbing tasks, including how to install a sink trap, what to do when installing a bathroom sink waste plug and more.
Was this guide useful?
Mentioned in this project guide: