The cold weather is an enemy for many. Underfloor heating is a fantastic solution for keeping you warm and cosy during those lower temperatures. If you’ve opted for heated floors, great choice! First, you need to measure for underfloor heating. Here’s how you can prepare for underfloor heating mats or loose cable kits to help keep your property well-heated for years to come.
Table of contents
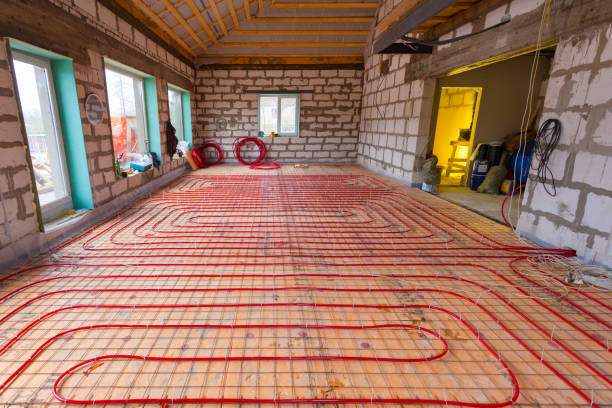
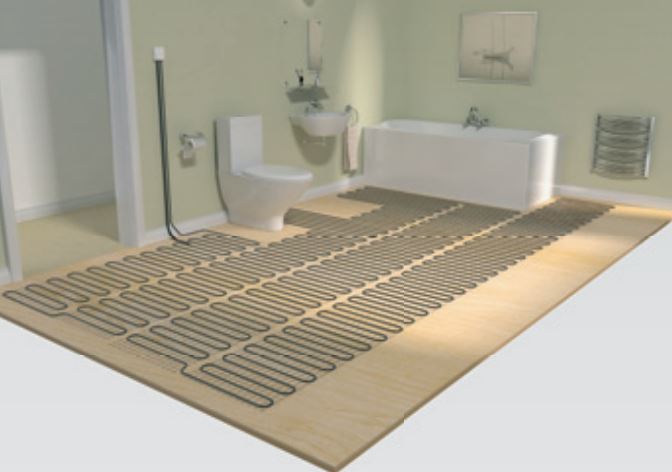
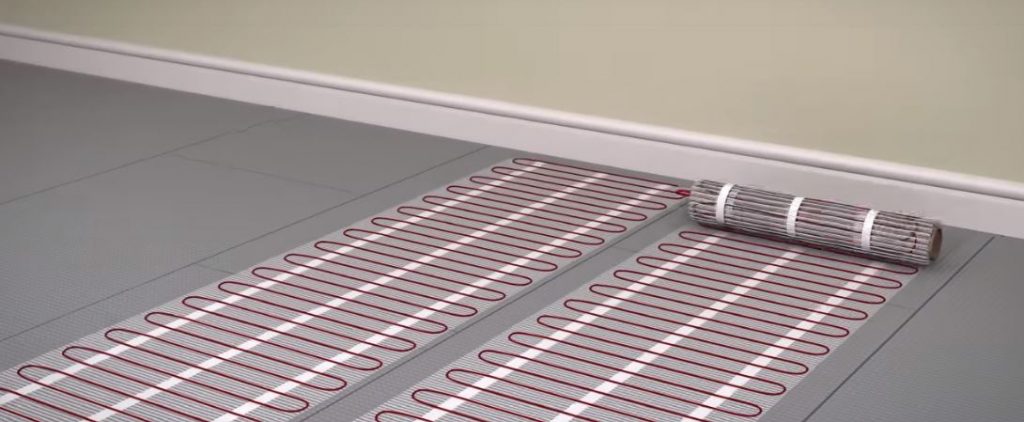
Underfloor heating mats vs loose cable kits
Mats and cable kits are loosely connected in performance quality but do come with key differences, including how the output wattage is affected. That’s why there are differences in their measuring techniques.
While a mat system’s output wattage depends on the cable’s power per m², loose cable kits determine output wattage based on the spacing between the cables.
Other key considerations are that the 150 watt and 200 watt mats have the same cable spacing, but the 200 watt mat will have a cable with more power. For loose cable kits, minimum and maximum spacing is important to prevent hot and cold spots.
Regardless of which heating system you choose, it’s better to have a little less cable than leftover cable. Excess cable is typically cut by the installing party and won’t work. So, purchase a smaller mat in this instance.
Measuring methods for underfloor heating installation
To measure the maximum heated area of your room, you can use any of these three common methods.
The first method
This is the most common method of measuring for underfloor heating installation.
Step one
Measure the total floor area of the room in which the underfloor heating will be used. Do this in metres.
Length x width = total floor area in m 2
Step two
Work out areas that will be non-heated. For example, areas of the room with permanent fittings such as toilets, sinks and baths.
Step three
Remove the total for the non-heated floor area from the total floor area.
Total floor area – total non-heated floor area = new total floor area
Step four
Reduce the new total floor area number by 10%, then round it to the nearest heating mat size available.
Why remove 10% from the total? The 10% is removed to allow for gaps around the edges of your heating installation. When you install the boards, these can then be fitted flush to the walls of the room without worrying about each section of underfloor heating, while still maintaining gaps between them.
The second method (ideal for smaller areas)
If you have a smaller space you need to measure, this method is more suited to you.
Step one
Minus 100mm from the length and width of the room, then work out the total floor area. Do this in metres.
Length of room – 100mm = new total length of the room
Width of room – 100mm = new total length of the room
Length x width = total floor area in m 2
Step two
Identify the areas that will not be heated. For example, areas of the room with permanent fittings such as toilets, sinks and baths.
Step three
Remove the total for the non-heated floor area from the total floor area.
Total floor area – total non-heated floor area = new total floor area
Step four
Round the new total floor area to the nearest heating mat size available.
The third method (ideal for areas with multiple furnishings)
If your room has many obstacles, such as a kitchen, you can use this method to work around them.
Step one
Separate the floor area into zones to create smaller rectangular or square spaces to work with. Measure these sections to find the totals of each area. Then add these totals together for a complete area total. Ensure measurements are done in metres.
Zone one total + zone two total + zone three total = total floor area
Step two
Identify the areas that will not be heated. This includes areas covered by storage units, kitchen islands and other similar furnishings that are permanent fixtures.
Step three
Remove the total for the non-heated floor area from the total floor area.
Total floor area – total non-heated floor area = new total floor area
Step four
Reduce the new total floor area number by 10%, then round it to the nearest heating mat size available.
Why is 10% being removed from the total? Removing 10% allows for gaps around the edges of your heating installation. When installing the boards, these can then be fitted flush to the walls of the room. Minimising worry about each section of underfloor heating while still maintaining gaps between them.
Each of the methods mentioned above can be used to discover underfloor heating measurements. However, if you prefer loose cable systems, look to the method below.
Loose cable system
Many professionals use loose wire underfloor heating kits in rooms cramped with items or limited space. Installing parts and planning may take longer, but the system works conveniently around obstacles if you maintain the minimum cable distance recommended by the manufacturer.
With that, here’s how to measure for a loose cable heating system.
Step one
Choose one of the three methods mentioned above, below ‘Measuring methods for underfloor heating installation’. Once you’ve chosen a method, calculate the maximum heated area for the room.
Step two
Select the desired wattage you want for the underfloor heating to output (See tables below). This helps you determine how much space you need between the loose cables and the total cable length required to cover the area and achieve your desired wattage.
Note: Manufacturers design and market loose cable kits based on 200 watts per m² at 200 mm spacing. The higher the wattage, the quicker the floor will reach the desired temperature and vice versa.
200 watts
| Spacing | Wattage per m2 | Area covered per m2 |
| 65mm | 200 | 1 |
| 65mm | 200 | 1.5 |
| 65mm | 200 | 2 |
| 65mm | 200 | 3 |
| 65mm | 200 | 4 |
| 65mm | 200 | 5 |
175 watts
| Spacing | Wattage per m2 | Area covered per m2 |
| 75mm | 175 | 1.1 |
| 75mm | 175 | 1.7 |
| 75mm | 175 | 2.3 |
| 75mm | 175 | 3.4 |
| 75mm | 175 | 4.6 |
| 75mm | 175 | 5.7 |
150 watts
| Spacing | Wattage per m2 | Area covered per m2 |
| 85mm | 150 | 1.3 |
| 85mm | 150 | 2 |
| 85mm | 150 | 2.4 |
| 85mm | 150 | 4 |
| 85mm | 150 | 5.3 |
| 85mm | 150 | 6.7 |
135 watts
| Spacing | Wattage per m2 | Area covered per m2 |
| 95mm | 135 | 1.4 |
| 95mm | 135 | 2.2 |
| 95mm | 135 | 3 |
| 95mm | 135 | 4.4 |
| 95mm | 135 | 5.9 |
| 95mm | 135 | 7.4 |
Step three
Once you’ve chosen your watt output, you can use the table as a guide for working out what space and length of cable you need for your own underfloor heated area and wattage output. Once settled, go ahead and purchase the required kit to achieve the wattage you desire.
These are your methods for measuring underfloor heating with mats or an electric underfloor heating loose cable kit! However, do seek professional support if you are uncertain about your measurements or loose cable system requirements.
Want to find out more about underfloor heating? Maybe you need to know how to bleed existing underfloor heating or ensure you can repair and maintain underfloor heating in future. Check out our wide range of Help and Advice for more information.

Was this guide useful?
Mentioned in this project guide: