Most of us grew up hearing the term ‘bleeding a radiator’ or similar. Now faced with the task, it might confuse you if you have no experience with it in person. This is no problem. Learning to bleed a radiator is simple with the right know-how. We’ll explain why you need to bleed a radiator and how to ensure your radiator is in a stable working condition.
Table of contents
Why bleed a radiator?
Over time, radiators can succumb to air being trapped inside them, preventing warm water from moving through the system. The results can be that cold spots (especially at the top of the radiator) start to form, or the entire radiator stops heating up, slowing the rate at which your radiator heats the room and raising the bills. The radiator can also be annoying with bangs, clanks and gurgles if you release the air incorrectly.
If you’re wondering when to bleed radiators, prominent heating companies suggest bleeding your radiator(s) at least once a year. Regardless of their quality, technical standards or even if the systems are working successfully. This is especially true if you haven’t used them during the hotter temperatures, as air can build up in the system. For example, if you haven’t used the radiator(s) in the summer, bleed them before winter to ensure they work more efficiently during colder temperatures.
Additionally, if you find yourself bleeding your radiators in too many short time frames, consider contacting a professional to check that there aren’t any deeper issues.
How do you bleed a radiator?
These are some simple steps to bleeding a radiator. Before you start, you’ll need the following:
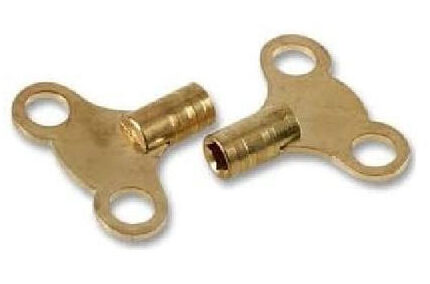
- A radiator key
- A cloth or something similar to catch water (a tub or similar container is also recommended)
If you’re bleeding multiple radiators, the one furthest from the boiler likely has the most air, so start from there. Now onto the radiator bleeding!
Step one: Turn off the central heating
You must turn off the heating as a safety precaution. This is because the radiator will likely be too hot to touch if you leave it running, and hot water could spray or leak from the system. So, make sure to let it cool down before bleeding.
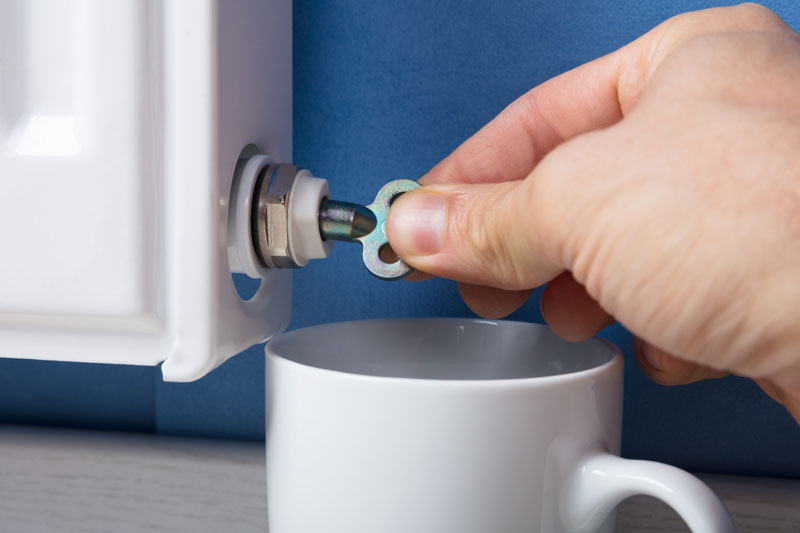
Step two: Insert the key into the radiator valve
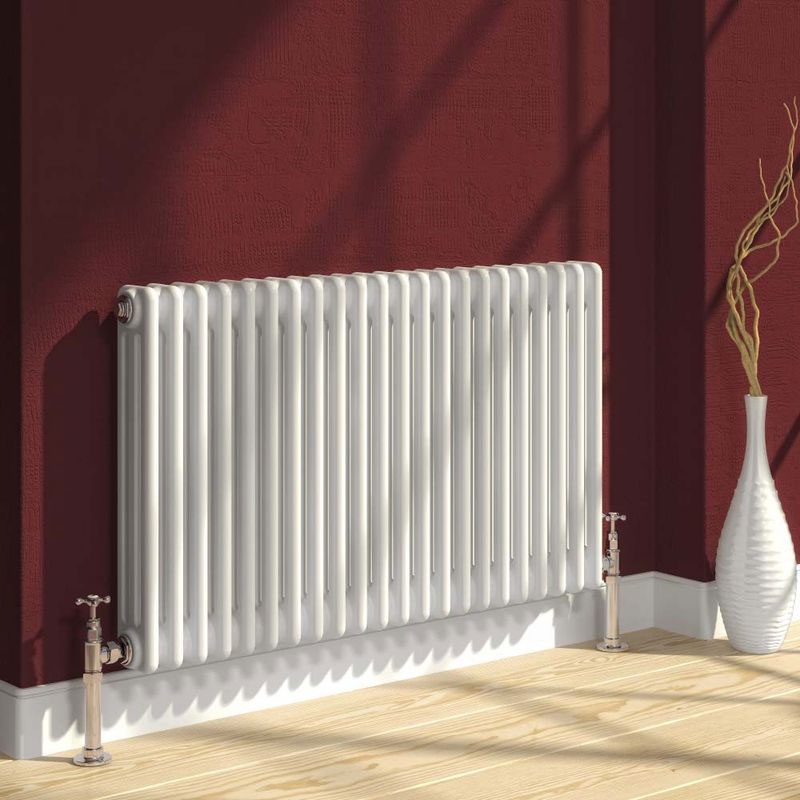
All radiators have a radiator valve, typically at the top of the radiator on the corner. However, if you don’t see this, look for a round hole with a square groove in the centre. Slowly turn the radiator key anti-clockwise until you hear a hissing sound. This indicates trapped air leaving the radiator and should stop once all air has escaped. Another stop sign is when only water is leaving the system, so you’ll need to monitor it as it bleeds to catch any water with the cloth or container.
Step three: Retighten the valve
If the hissing has stopped and water is the only thing coming out of the valve, quickly retighten it to avoid excessive water leakage.
Note: Contact a professional plumber or heating provider if the air stops and no water leaves the system. There may be something else preventing the water from entering the radiator.
Step four: Turn the central heating back on and check the pressure
You must check the pressure after bleeding the radiator. If the pressure has decreased after the heating has been turned back on, a common result of bleeding radiators, you must top up the pressure. You can do this via the lever on your boiler or by tapping on the boiler. This is called ‘the filling loop’.
Step five: Check the radiator is heating properly
The heat should now be evenly distributed across the radiator if the problem is fixed.
How to bleed a towel radiator
The process for bleeding a towel radiator isn’t too different to a standard radiator. However, some towel radiators have additional features you must look out for. Here’s what you’ll need to do when faced with these differences.
Lock-shields and Thermostatic Radiator Valves (TRVs)
If these are present on your towel radiator, you will need to open them. To do this, remove the caps covering them (these typically pop off) and use a spanner or Allen key to turn them fully anti-clockwise.
Radiator bleed valve placement
The radiator bleed valve will likely be at the top, but can also be located at the back.
Don’t forget a towel
Unlike standard radiators, you’ll likely need a large towel to sit beneath the radiator to catch excess water and protect your floor from leaking water
FAQs about bleeding a radiator
Here are some common questions you may have when bleeding a radiator.
How do you know when to bleed a radiator?
If you can feel cold spots on the radiator or across the top half of the system, this will be an indicator that it’s time to bleed the radiator. If you want to test the heating before bleeding to confirm this, be careful when touching the system to avoid burns.
How long does it take to bleed a radiator?
How long it takes to bleed a radiator depends on the severity of the air pockets. However, the process is short, as explained via our steps. Realistically, you should only take 30 seconds to bleed a radiator, depending on the size of the radiator and the amount of air trapped in there.
Can you bleed a radiator when the heating is on?
It is never wise to leave your heating on when bleeding a radiator. It puts you at high risk of burns, as the water leaving the system will likely be scalding. So, you must turn off the heating.
Should water come out when you bleed a radiator?
Yes. When you bleed a radiator, you will likely see drips coming out as soon as you turn the valve. So, ensure you have a cloth or container to catch the water as soon as it falls and tighten the valve back up once done with the bleeding.
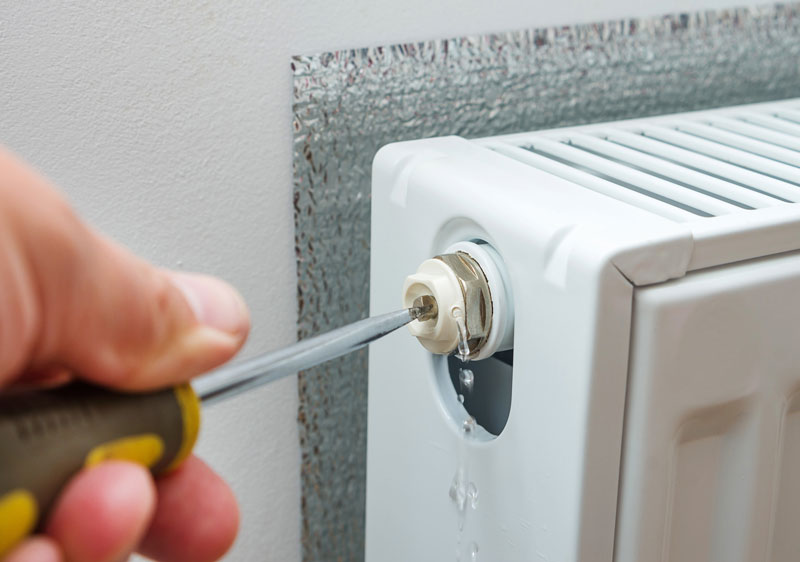
How do you bleed a radiator without a key?
One of the easiest ways to bleed a radiator without a key is with a slotted/ flathead screwdriver. Do this by placing the flat head of the screwdriver into the notches of the bleed valve. Then, as you would with a key, turn anti-clockwise to open the valve and clockwise to close the valve.
If you want to know how radiators work, we have a guide to learn more about all your central heating requirements. You can also discover more about your systems via our heating and ventilation Help and Advice, and more.

Was this guide useful?
Mentioned in this project guide: